Light shapes the story your photo tells. A crisp, sunlit shadow can make a Greek salad pop with vibrant summer colors, while gentle, soft light can transform the same scene into a dreamy, serene composition. In this post, I’ll guide you through the art of hard and soft light photography—how to use each type, when to choose them, and practical tips to elevate your food and lifestyle shoots. Whether you’re chasing the perfect summer glow or a cozy, intimate mood, understanding light is the key to creating images that captivate.
Hard and Soft Light in Photography: Choosing the Right Mood for Your Shot
Recently, I experimented with both hard and soft light for a summer-themed shoot, featuring a classic Greek salad. The sunny season gave me plenty of opportunities to play with the direct, hard light of the sun as well as softer light with gentle, smooth shadows.
Hard light, characterized by sharp shadows and strong contrast, works perfectly when you want to convey energy, vibrancy, and clarity. For this shoot, I chose hard light intentionally. Greece is synonymous with sunny skies, warmth, and bright, cheerful days, and the direct sunlight beautifully enhanced the colors of the fresh vegetables—making the reds, greens, and yellows pop in a way soft light could not. The shadows created by hard light added structure and texture, highlighting the crispness of the ingredients and giving the photo a lively, dynamic feel.
Soft light, on the other hand, creates a more subtle, gentle atmosphere. It’s perfect for intimate portraits, delicate food styling, or when you want to evoke calm and serenity. Soft light reduces contrast, smooths textures, and wraps the subject in an even glow, creating a dreamy or romantic mood. While I appreciate the beauty of soft light, for this particular Greek salad shoot, hard light aligned better with the sunny, warm, and joyful theme I wanted to convey.
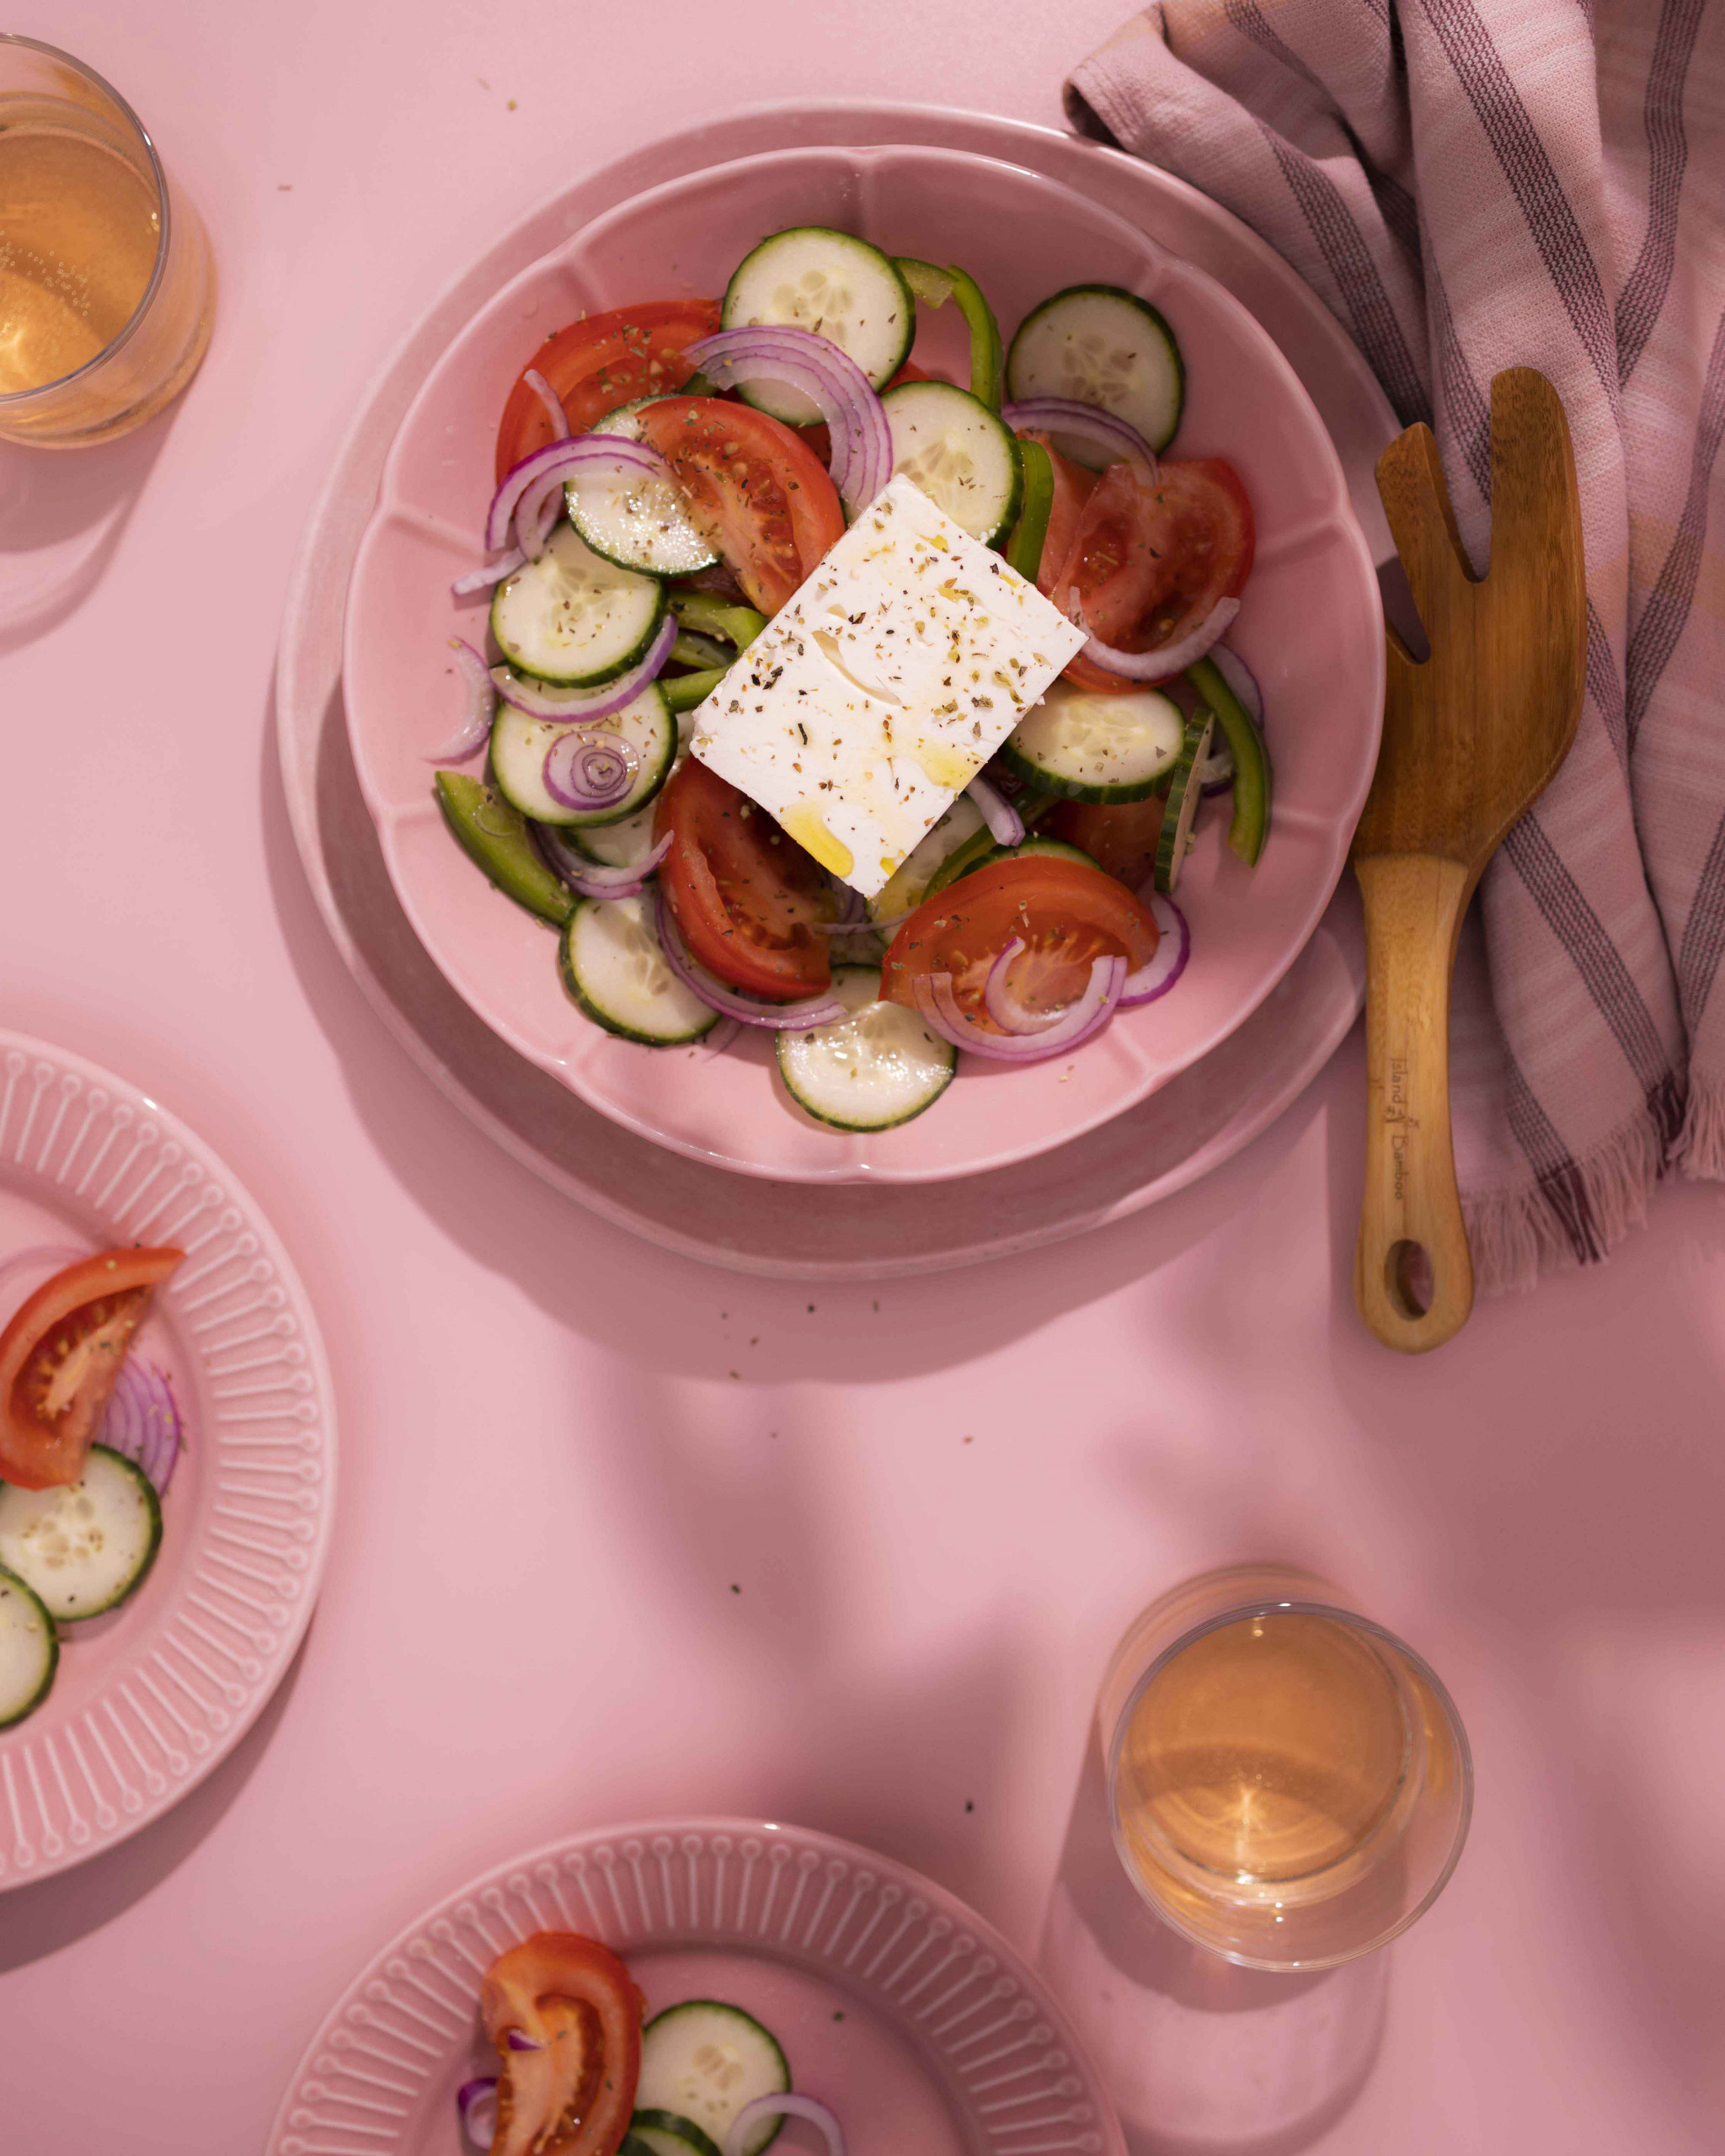
Hard light photography
Soft light photography
Practical Tips for Shooting with Hard and Soft Light
1. Hard Light Tips:
Time of day: Midday sun creates strong, direct light. Use it to emphasize textures and vibrant colors.
Shadows: Embrace them—they add drama and depth to your composition. Consider how shadows fall on your subject and use them creatively.
Reflectors: Even with hard light, a reflector can bounce some light back into shadowed areas to prevent them from becoming too dark.
2. Soft Light Tips:
Time of day: Early morning and late afternoon (golden hour) provide naturally soft light.
Diffusers: If shooting in harsh daylight, use a diffuser (sheer fabric, frosted plastic, or a professional softbox) to soften shadows.
Overcast skies: Cloudy days are perfect for even, soft light, reducing harsh shadows while maintaining natural colors.
Positioning: Keep your subject away from direct light or use window light to achieve gentle, flattering illumination.
Ultimately, the choice between hard and soft light comes down to the story you want your photo to tell. Bright, sunny, and lively? Hard light. Calm, cozy, and soft? Soft light. Learning to work with both—and knowing how to control shadows and highlights—gives you endless creative possibilities.
Next time you pick up your camera, pay attention to the light around you. Notice how it transforms your subject, and don’t be afraid to experiment. Sometimes, the sun itself is the perfect stylist for your story.
No Comments